|
Making
the orders page
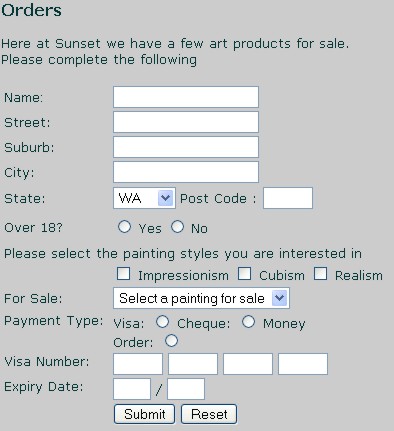
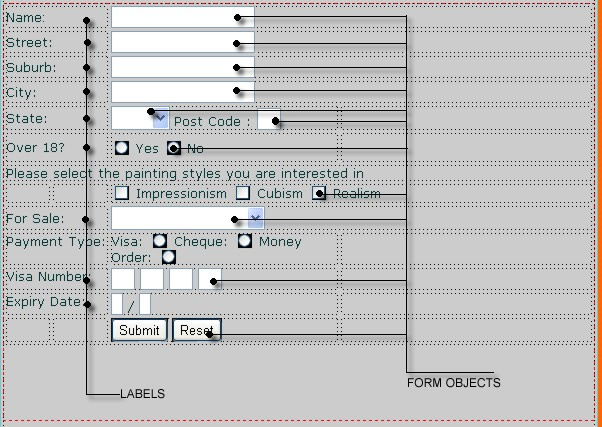
Following is what we want the orders page to look like
To
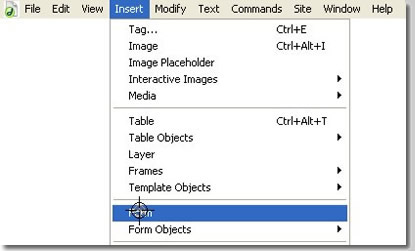
begin we must first define the form area. This will place the following onto the page.
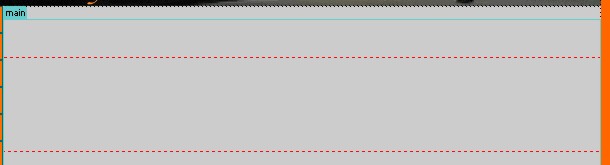
Note
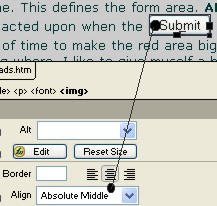
that it is a red dotted line. This defines the form area. ALL form objects must appear within this environment to be acted upon when
the (Note
to self... see how the Now
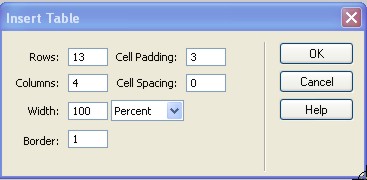
we need to create a table to go within the red form box.
Obviously you are going to get a table with the above specs. So lets not show that here. What
is important (note the flagrant disreguard of the use
of the "horizontal rule" I have merged and moved rows and columns in the table to suit what I want. You don't have to do the same. Anything similar will do. THe main objective is to have the form objects nicely lined up to be used with the labels.
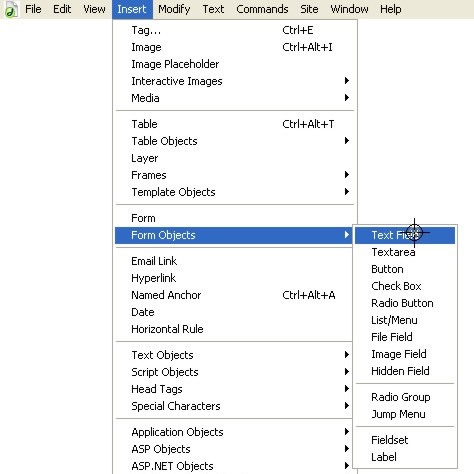
All form objects have been gathered from the Insert>Form Objects menu
Place appropriate form objects in appropriate positions throughout the table. Ones used mostly here are text field, button, check box and radio button
|
|
| home
| contacts | products
| downloads | links
| orders | clients |
|